Still undecided on the size for the legs, I milled one leg to 2-1/2" square and laid it out with the rails and stiles to see if the the proportions looked OK. I liked it so, I milled up the remaining leg stock to match.
 |
| Shavings and planer chips from milling the leg stock |
I proceeded to do the layout for the joinery on one pair of legs and the mating rails and stiles. Ended up having every marking and mortising gauge I own set to some dimension for the layout.
 |
| Harbor Freight, antique, and home made gauges |
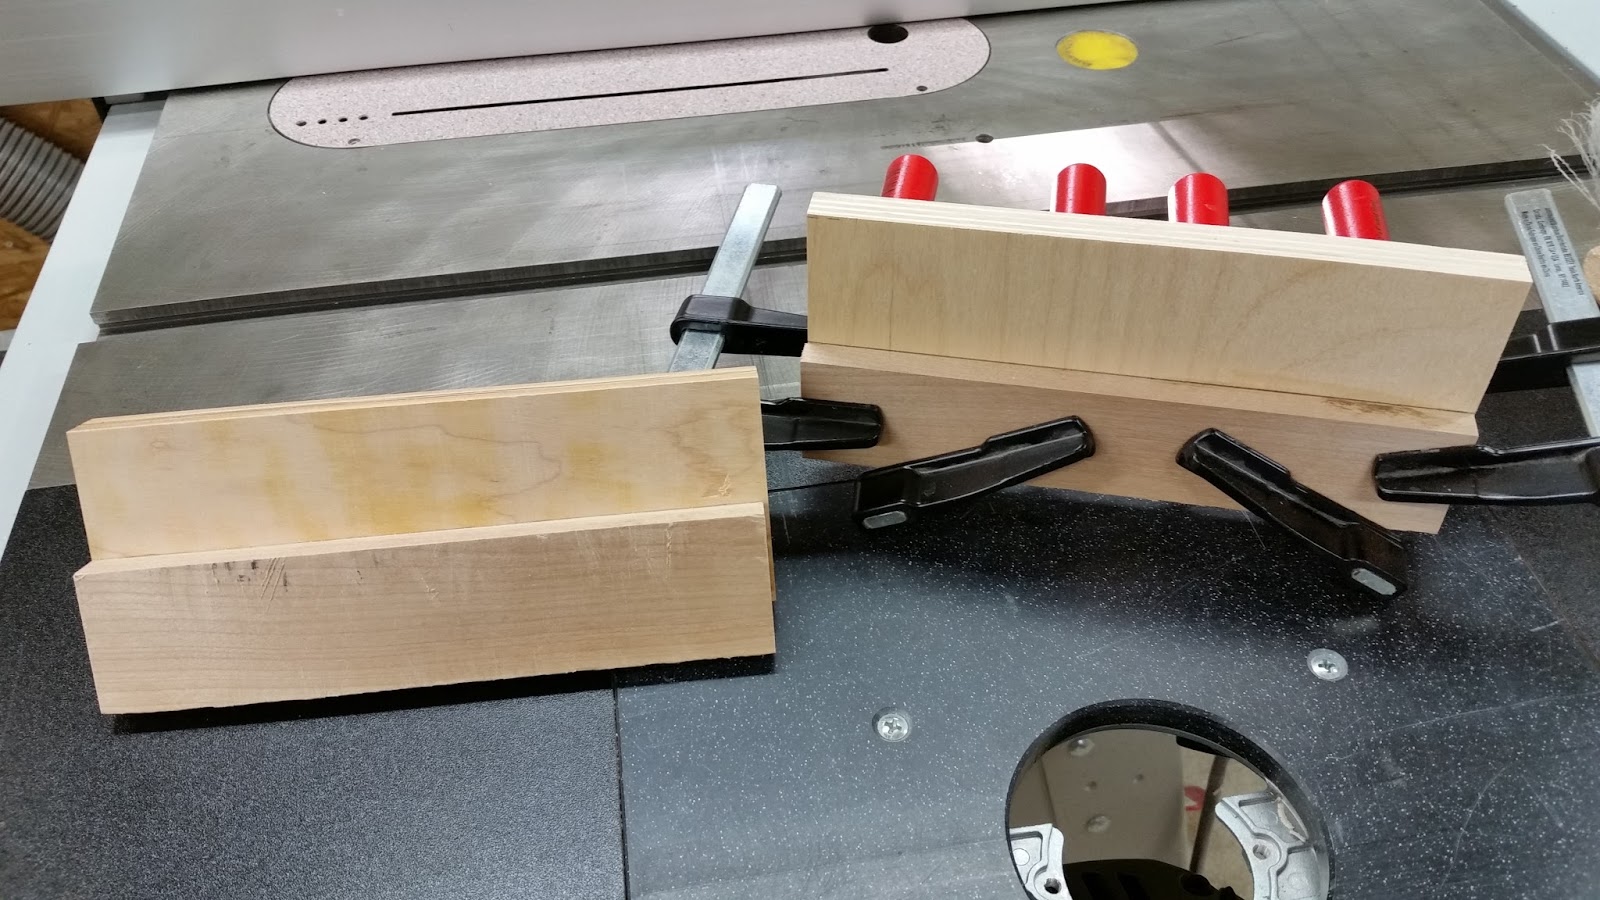
I made a couple of fixtures to guide the chisel and keep the mortises parallel to the face of the work piece. One is for a 3/8" offset and the other is 1/2". I planed down a piece of birch and glued it to scraps of plywood.
 |
| Mortising guides |
 |
| Guide in use |
Clamping these to the work piece also helps support the weak side of the part when mortising near the edge. I also discovered that I only needed to mark the length of each mortise since the guide determined one side of the mortise and the width of the chisel determined the other. They work very well and make the work easy.
My Buck Brothers chisel from Home Depot turned out to be a pleasant surprise. It held an edge as well as any of my other chisels. The back was easy to flatten and it honed up quickly. My only complaint is the plastic handle is round, when your hands get a little sweaty, it can be difficult to keep it from twisting in the mortise as you drive it in. Not a deal breaker though, I was able to make it work. I suppose if it becomes a problem, I could reshape the handle for a better grip.
 |
| Legs with all mortises complete |
I cut tenons on the stiles and rails for one end of the cabinet to see how it looked assembled, minus the panels.
 |
| Dry fit with rails and stile |
I then cut tenons on the drawer rails. These will be the attachment points for the drawer slides and I want them to be solid since the slides are rated for 100 pounds. The drawers will be large and heavy, even when empty. I will make them out of 1/2" thick birch with 1/2" Baltic birch plywood for the bottoms. They will have an applied frame and panel front to match my kitchen cabinets.
 |
| End assembly shown from the outside |
Still need to make the grooves for the panels in the legs and the stile.
 |
| End assembly shown from the inside |
When the drawer rails are planed to final thickness they will be flush with the inside of the legs.
Next I'll be cutting the rest of the tenons for all these mortises.
To be continued...